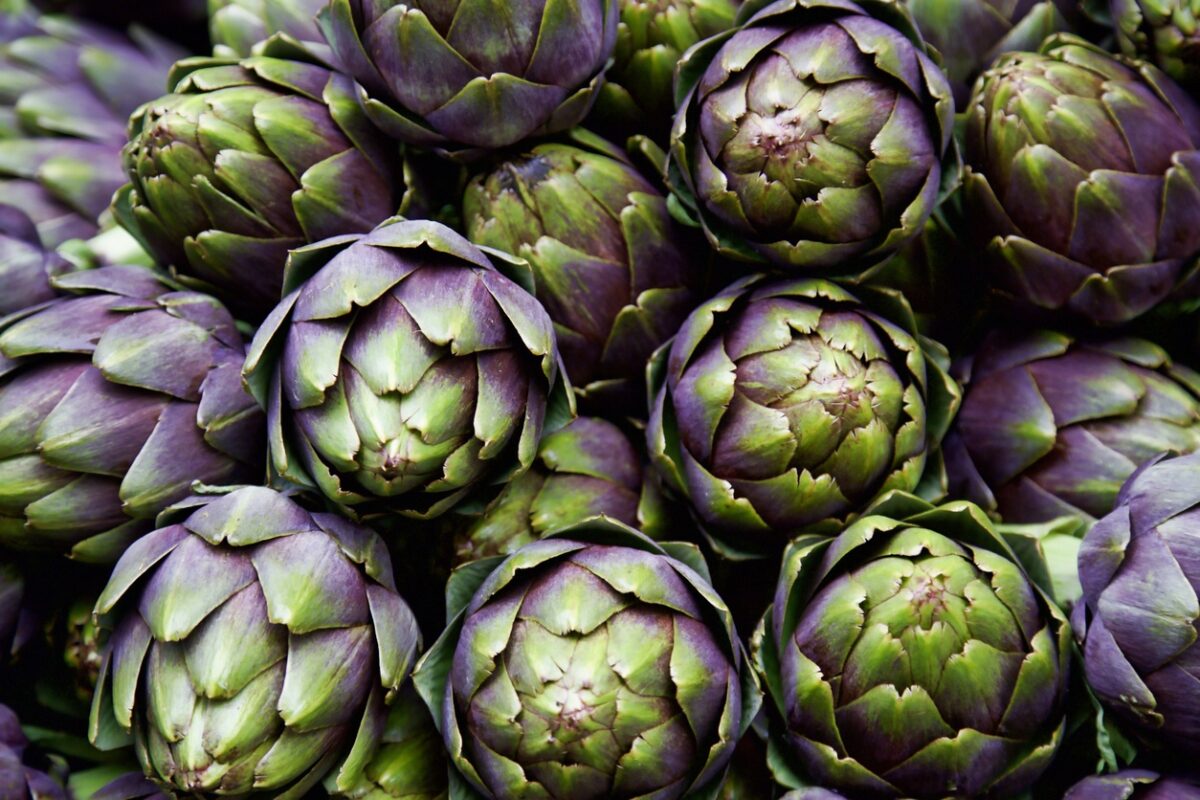
Artichokes are unopened flower buds that originated in the Mediterranean and are usually grown for decorative landscaping. Presently this vegetable is eaten on its own or incorporated in pizzas and soup. Before planting this delicious veggie, keep the following things in mind.
Sunlight and Temperature
Artichokes need sunlight to grow because they do not grow well when in shade. If you live in a hot area, it is best not to place your artichokes directly under the sunlight. 50 to 75 degrees F is the ideal temperature for them. They do not do well in frigid weather, so you better plant them not later than the …
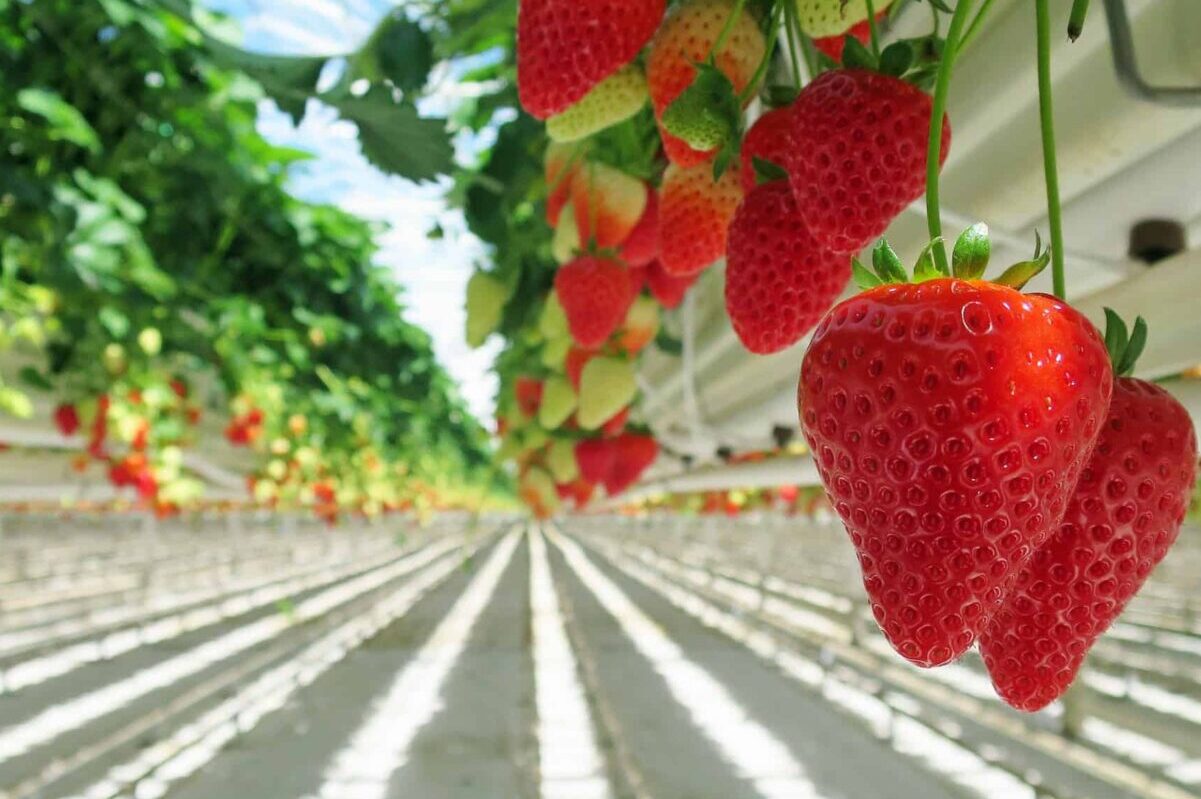
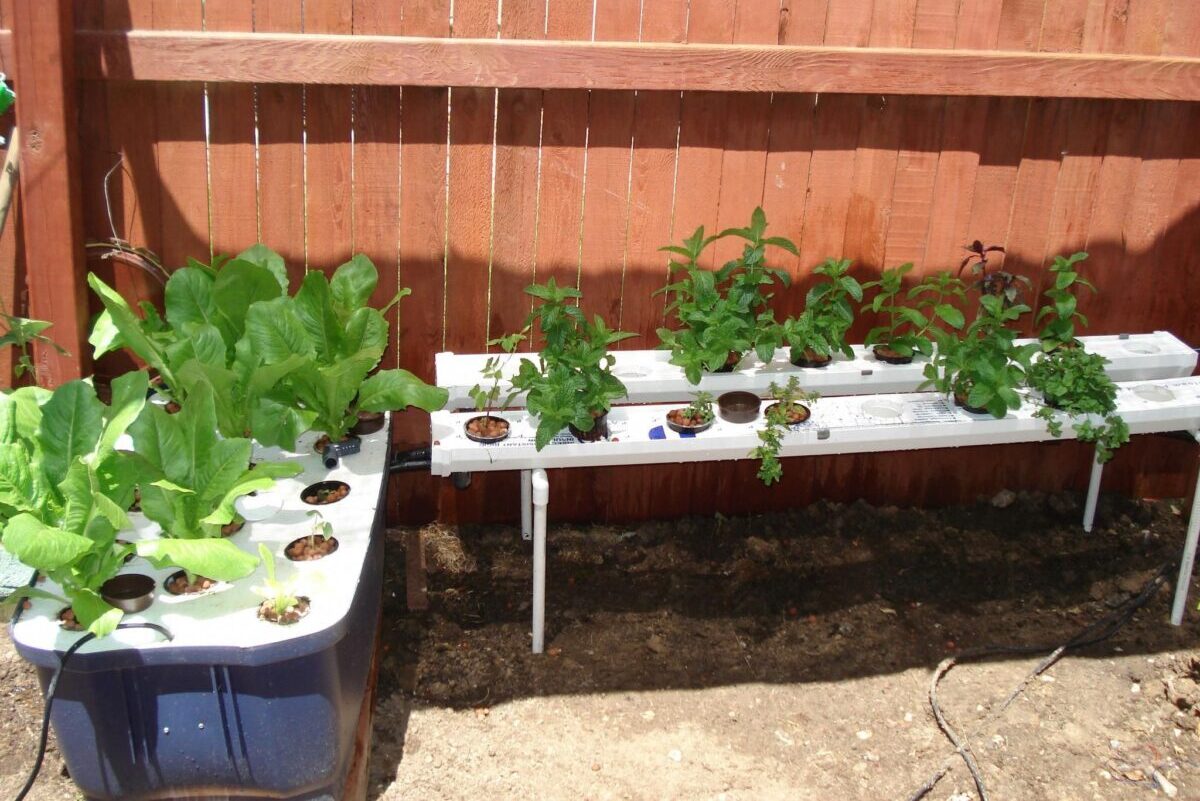
Did you know that you could grow hydroponic strawberries at the comfort of your home? These delicious berries are grown without soil. Here is how:
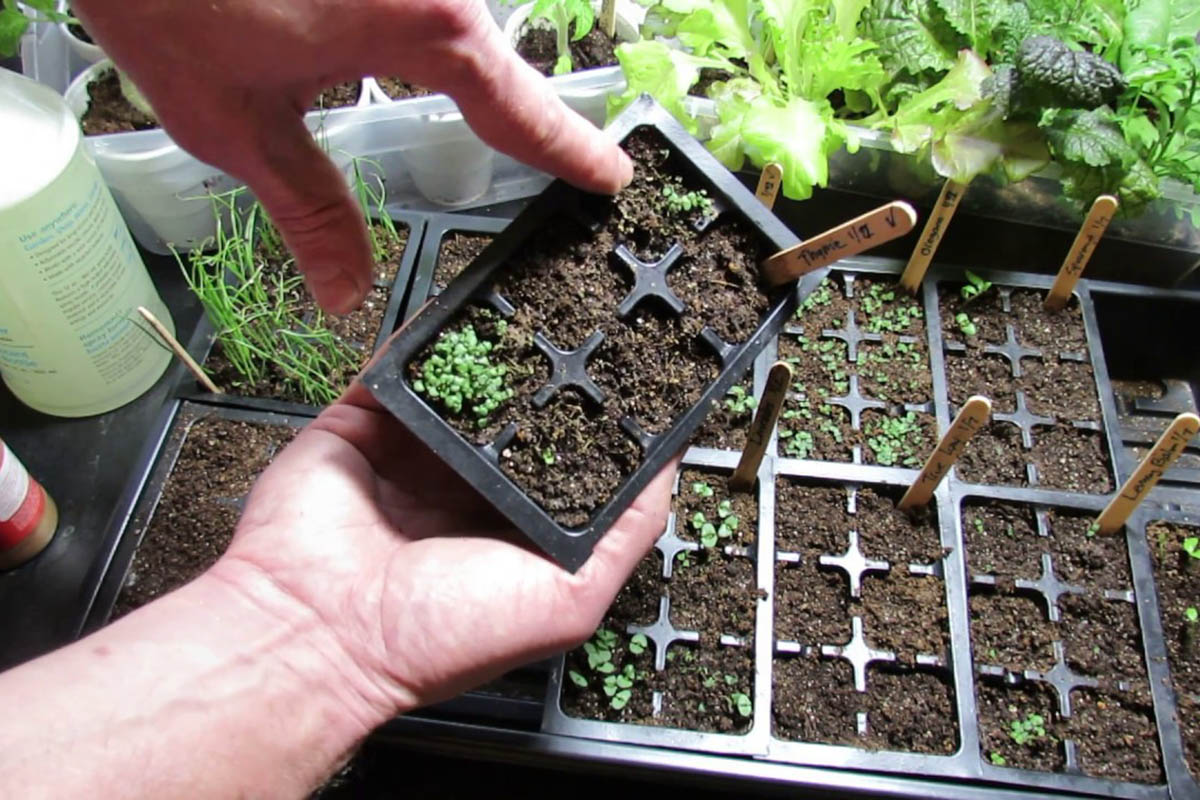
Planting Strategy
You need to decide first if you are going to use seeds before you start growing your hydroponics strawberries. If you choose seeds, you probably need to wait for years before you can harvest. Therefore, this strategy is slower. If you want another option, you can purchase some young strawberry plants and place them in your hydroponics garden using soil that you want and net pots.
Light and Temperature
When you …